PyRevit: Installation & Troubleshooting Add-in
PyRevit: Installation & Troubleshooting Add-in
When installing PyRevit you can find it in the P: drive (P:\07 SOFTWARE\pyRevit) or get the most recent version from GitHub.
There are 2 installers; one for individual use and the other for all users.
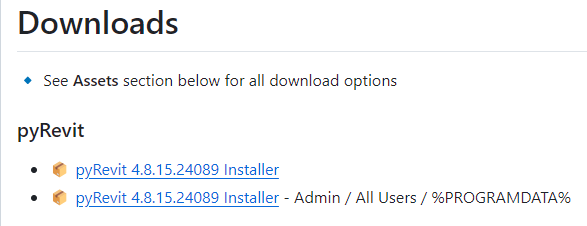
If you are the only one using Revit & PyRevit on your computer select the top Installer option.
If many users will be using Revit & PyRevit on your computer, select the bottom Installer option (Admin / All Users / %PROGRAMDATA%). This will install to the Administrator folder on the computer so all users can use it, instead of being installed for a specific user. However, it means permissions must be set for each user (see section below).
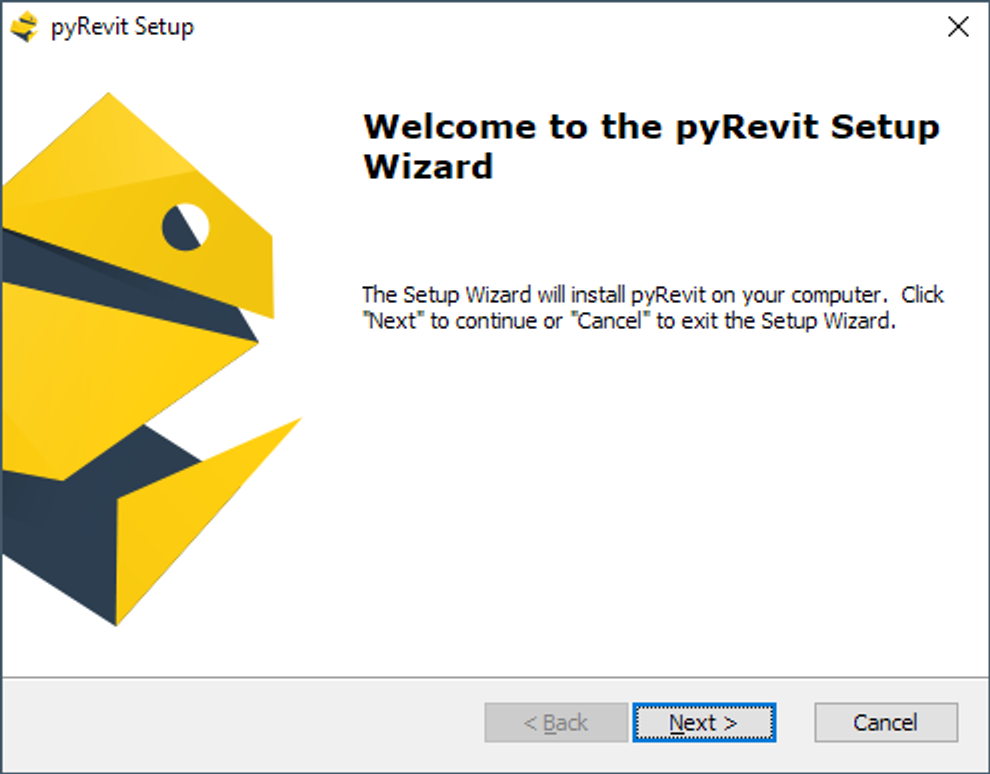
Run the installer on your machine and follow through the steps. The installer does not require Administrator privileges to your machine. You can choose a different installation path than the default as well.
Start the install
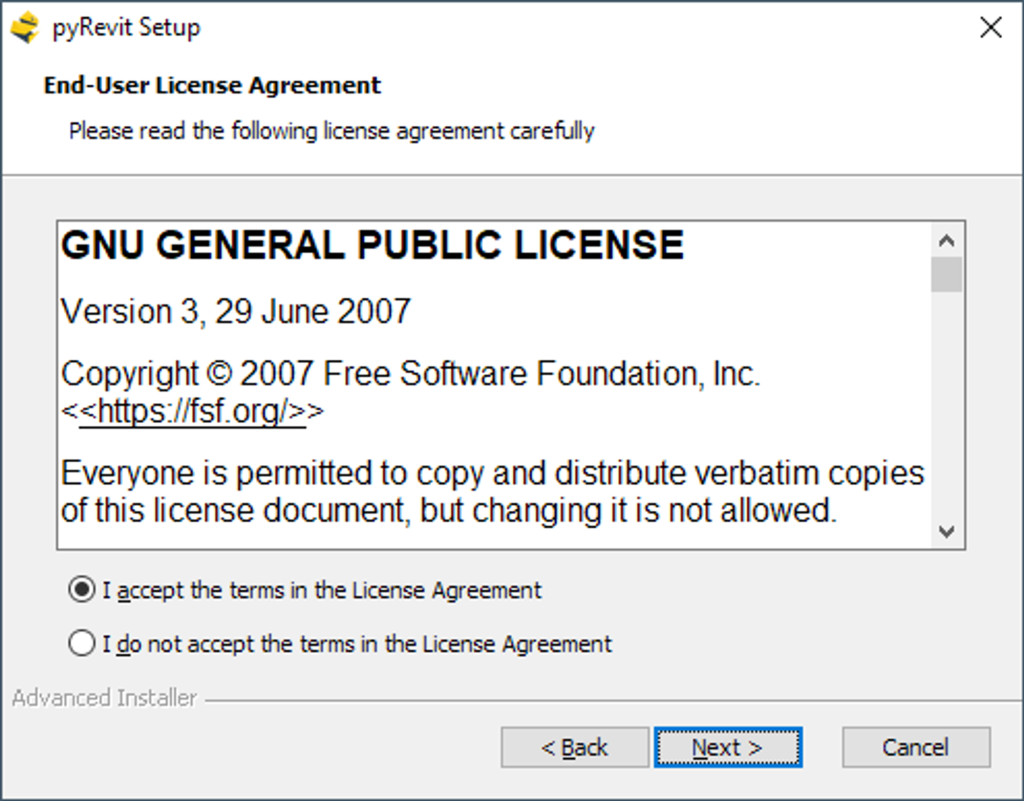
Accept the license terms
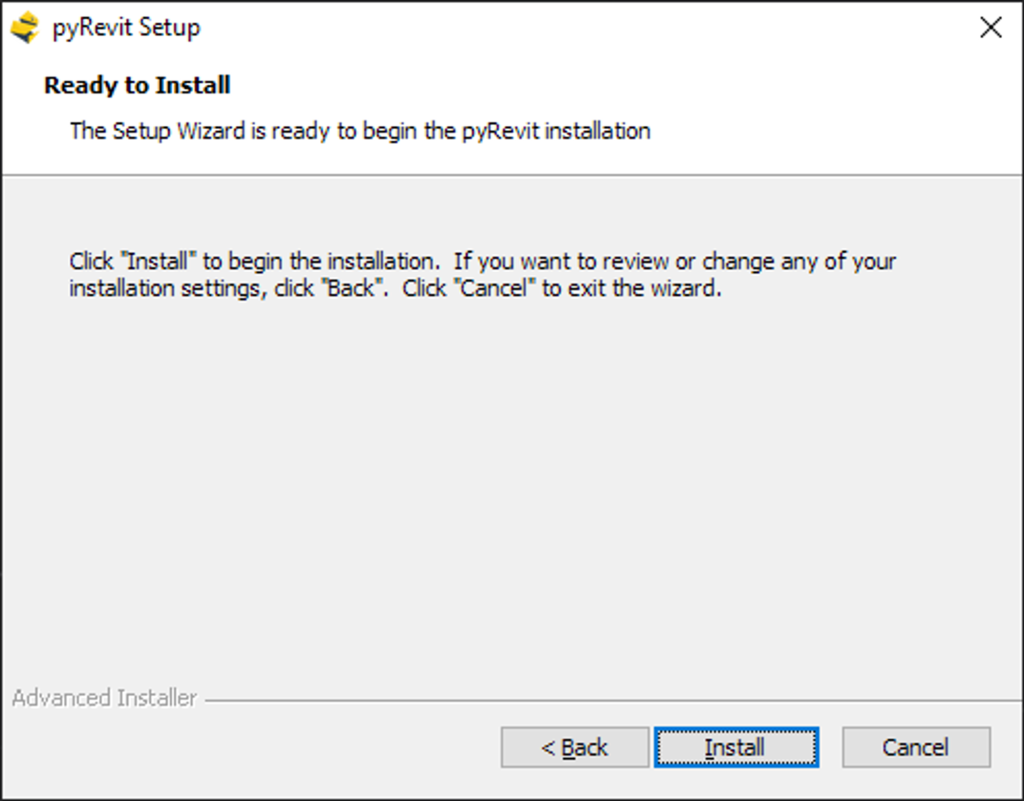
Select the destination path (this can be installed to a different location if needed).

Click Install
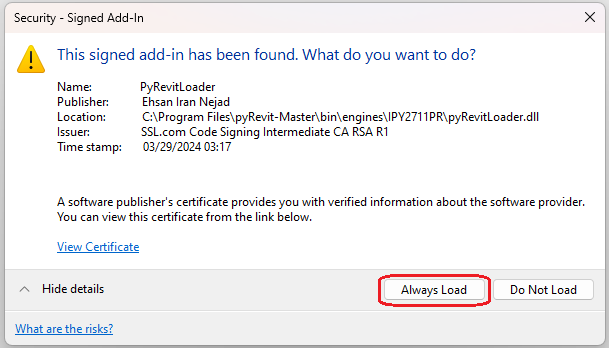
Once completed, Launch any of the installed Revit versions. Revit will launch a dialogue box asking for permissions to load a found add-in. Click Always Load
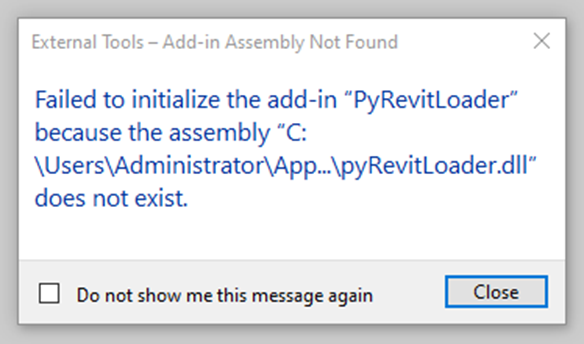
If you installed PyRevit to the Administrator folder instead of your local folder you will get a notification that it failed to initialize the PyRevitLoader.dll
Failed to initialize the add-in “PyRevitLoader” because the assembly “C:\Users\Administrator\App…\pyRevitLoader.dll” does not exist.
This means that permissions have not been set for PyRevit as listed above. Here is how to troubleshoot:
1. First closet Revit.2. Verify that the pyRevitLoader.dll is on the computer by navigating to this folder:
C:\Users\administrator\AppData\Roaming\pyRevit-Master\bin\engines\IPY2711PR
If the pyRevitLoader.dll is not located there, reinstall. If it is located there, then proceed to the next step.3. Launch Revit as an Administrator (right-click the icon, or from the Start menu, right-click and select run as administrator).
4. A security dialogue box will state that a signed add-in has been found. What do you want to do? Click Always Load

5. Close Revit.6. Launch Revit as normal (not administrator mode).
Related Articles
Enscape: Installation Guide (v 4.0.2.11)
Enscape: Installation Guide (vs 4.0.2.11) Method Studio uses Enscape version 4.0.2.11 - DO NOT upgrade to version 4.1 - we only have licenses for the older version. Installing Enscape for the first time should be simple and straightforward. However, ...Revit: How to move Central Models to a new location
Revit: How to move Central Models to a new location Issue: What is the procedure for migrating central Revit models to a new location? Is there any automatic way to do it? Solution: File-based workshared models: To move individual RVT central files ...SketchUp: Viewing and customizing toolbars
SketchUp: Viewing and customizing toolbars Depending on what you model in SketchUp or where you are in the 3D modeling process, you’re likely to favor some tools over others. In SketchUp, you can decide which toolbars you want to see. Toolbars are ...Enscape: Enscape Crashes
Enscape: Enscape Crashes When using Sketchup or Revit and trying to launch Enscape. Enscape tries to open, gets to 5%, opens an Enscape loading page, and then disappears/crashes. Or you are trying to launch a stand-alone Enscape model .exe and it ...Enscape: Hardware Requirements to run Enscape
Enscape: Hardware Requirements to run Enscape Enscape uses ray tracing for its real-time rendering, and almost all the calculations that Enscape performs are being handled on the graphics card (GPU). For this reason, your computer must at least meet ...